
How to choose
Choosing a camera backpack: dividers, access and protection
Dividers are the whole point
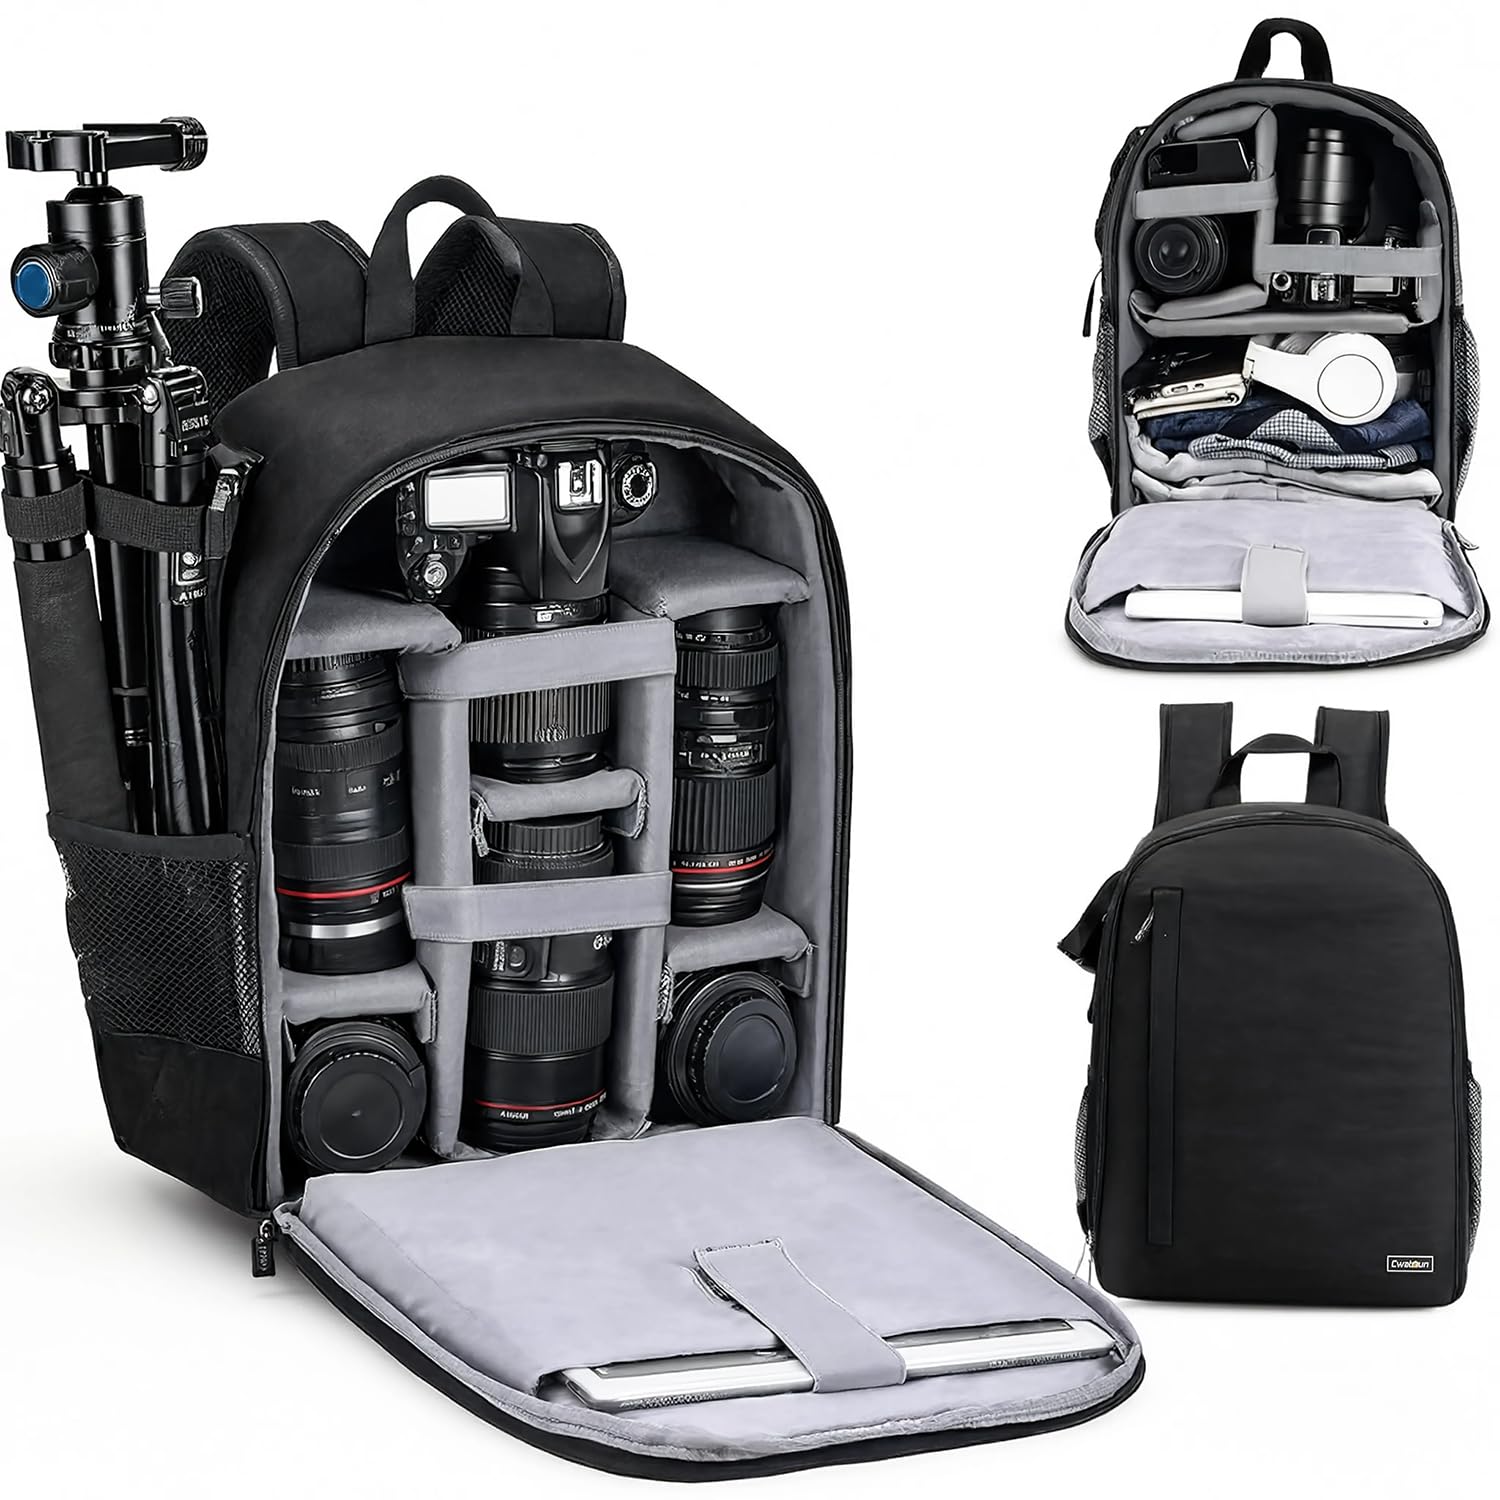
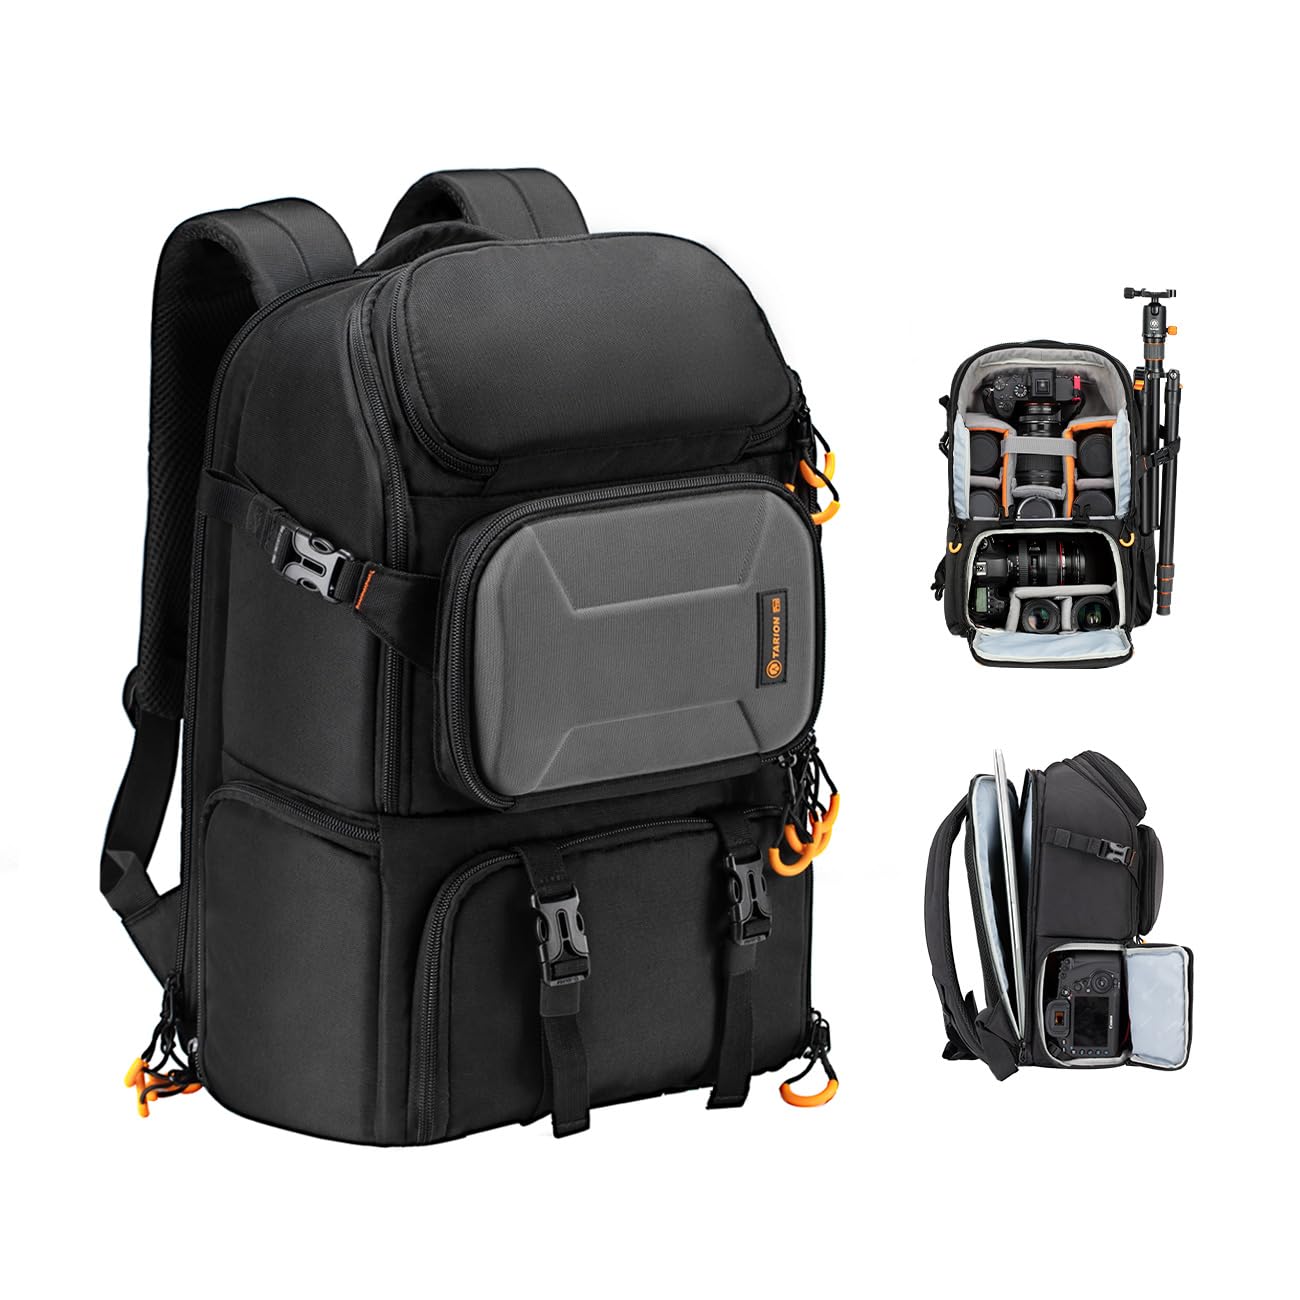
A camera backpack is really a padded box with adjustable walls. The dividers are hook-and-loop panels you move to build compartments that fit your exact bodies and lenses. More dividers means finer control; fewer means bigger, simpler spaces. This matters more than litres, because a well-divided 15-litre bag holds a working kit better than a loose 30-litre one.
Side access versus top access
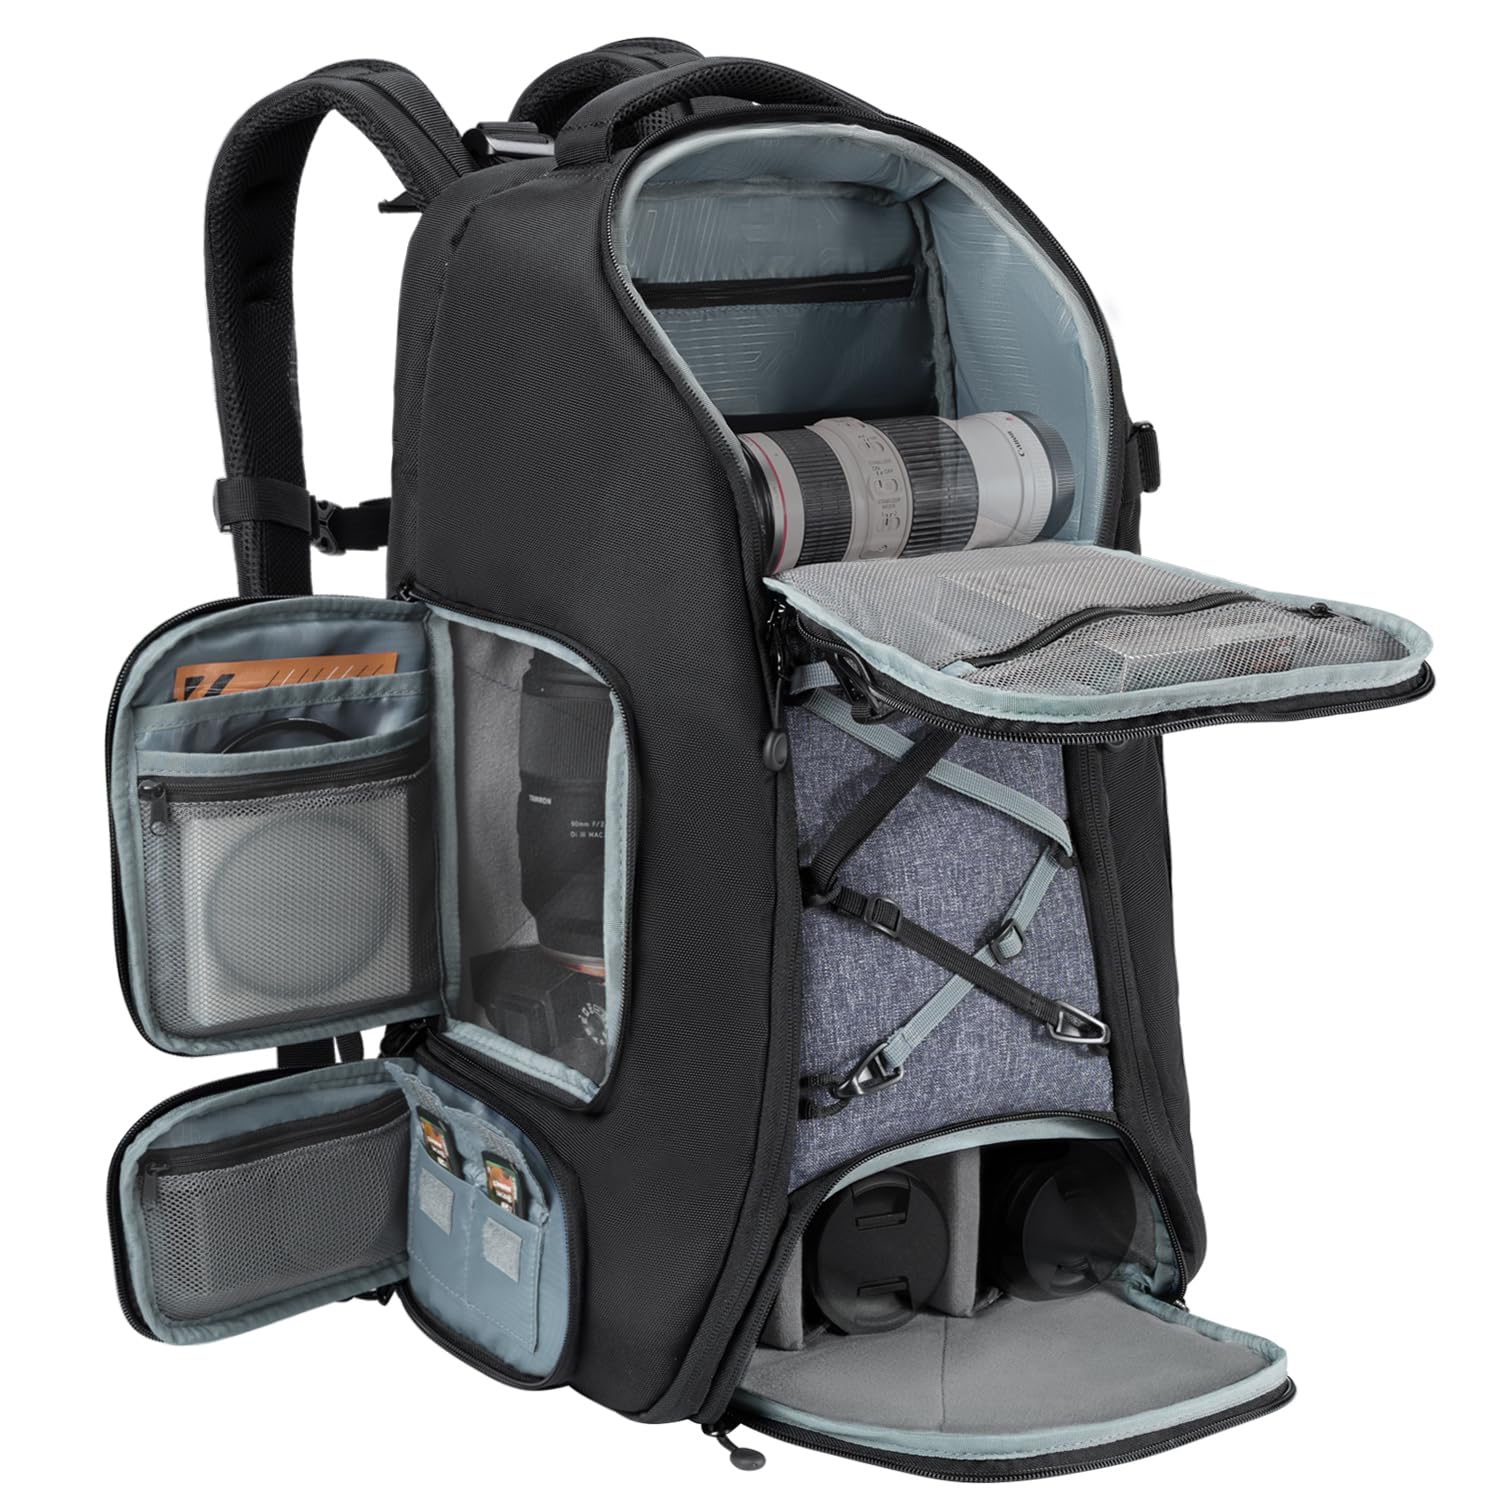
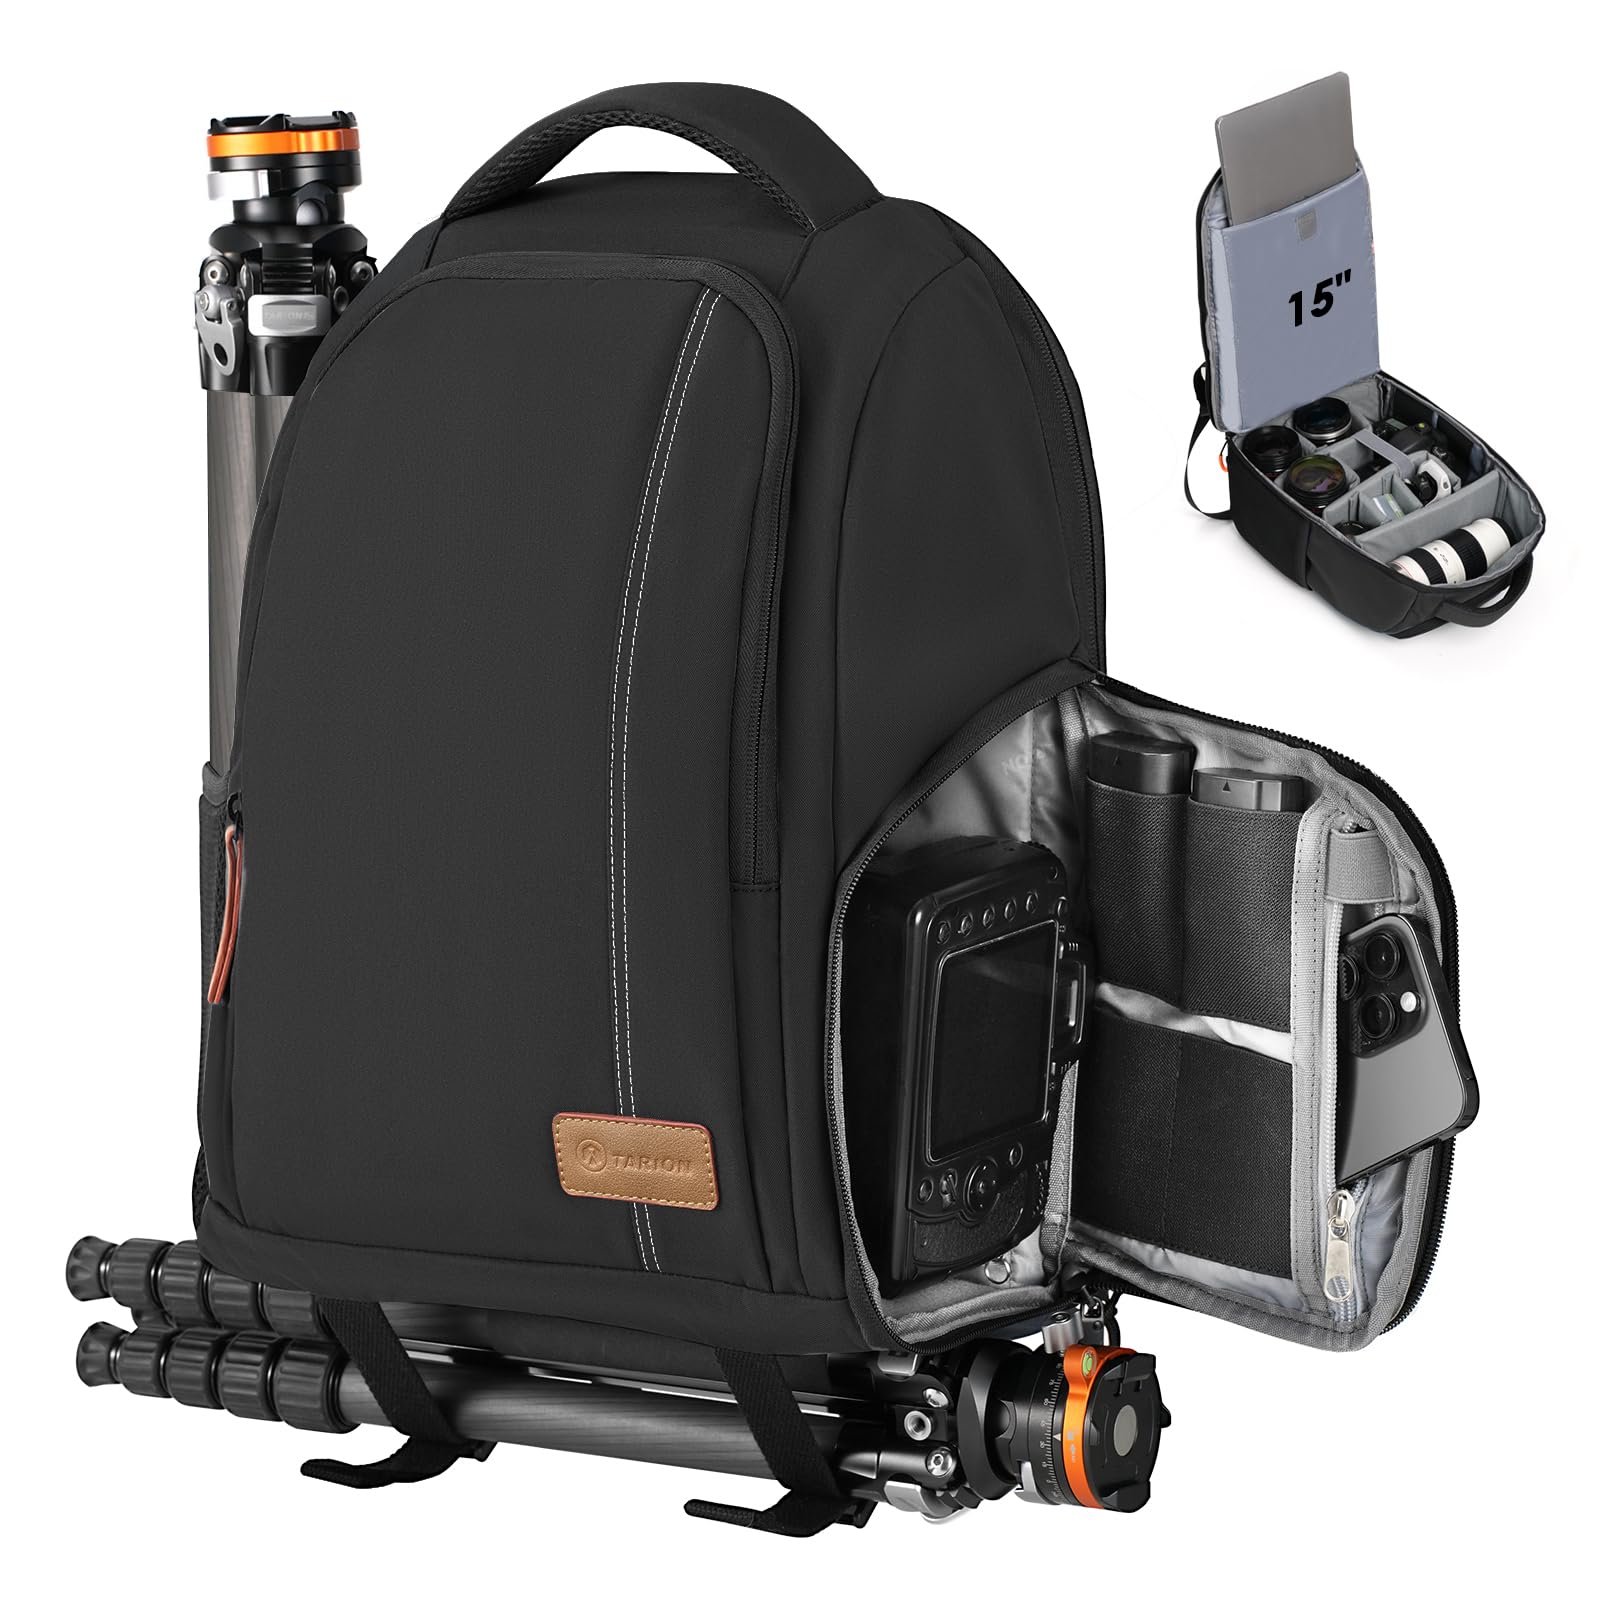
Side-access bags let you swing the pack round on one shoulder and pull the body out without putting it down. That is the difference between catching a shot and missing it. Top or rear access is slower but usually protects better and keeps the opening away from whatever you set the bag down on. Rear-opening designs also keep the panel that touches your back clean.
Hardshell if the bag gets treated badly
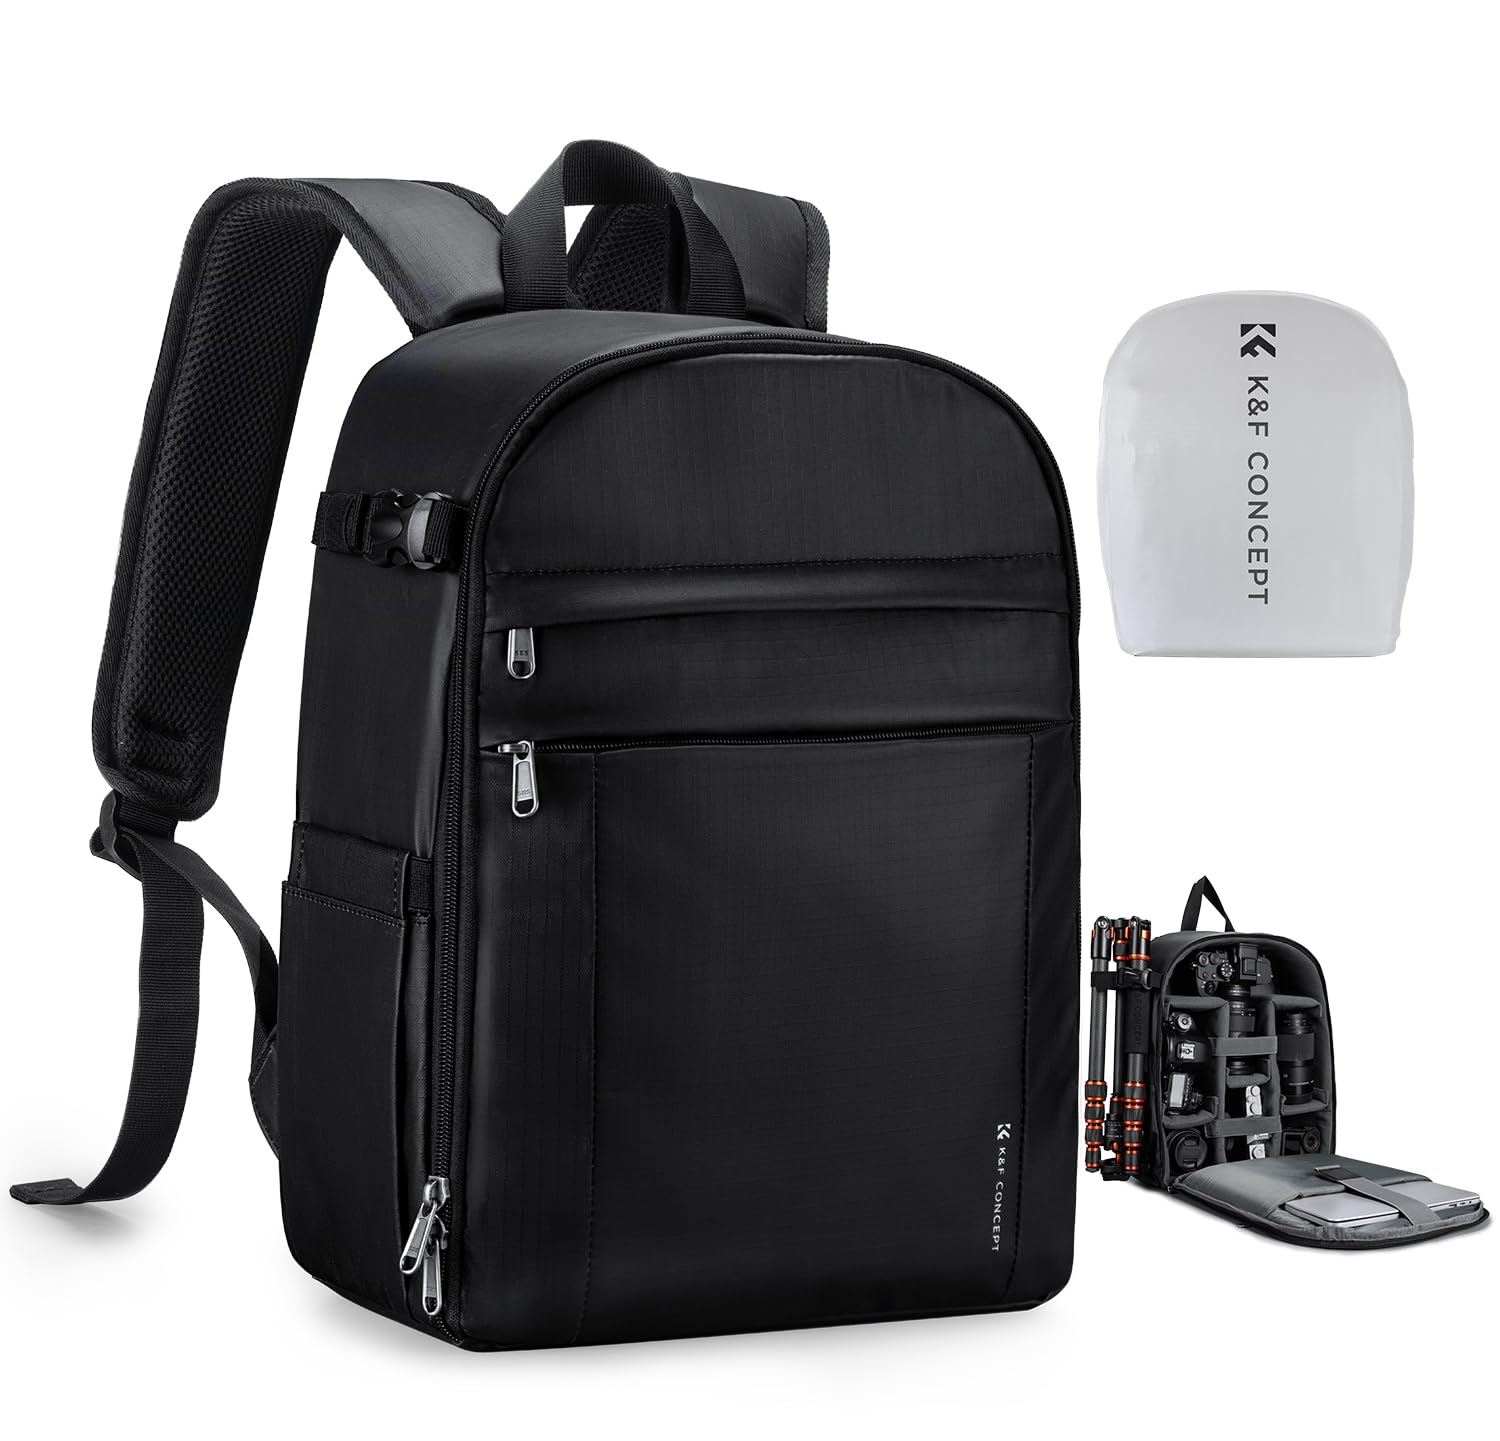
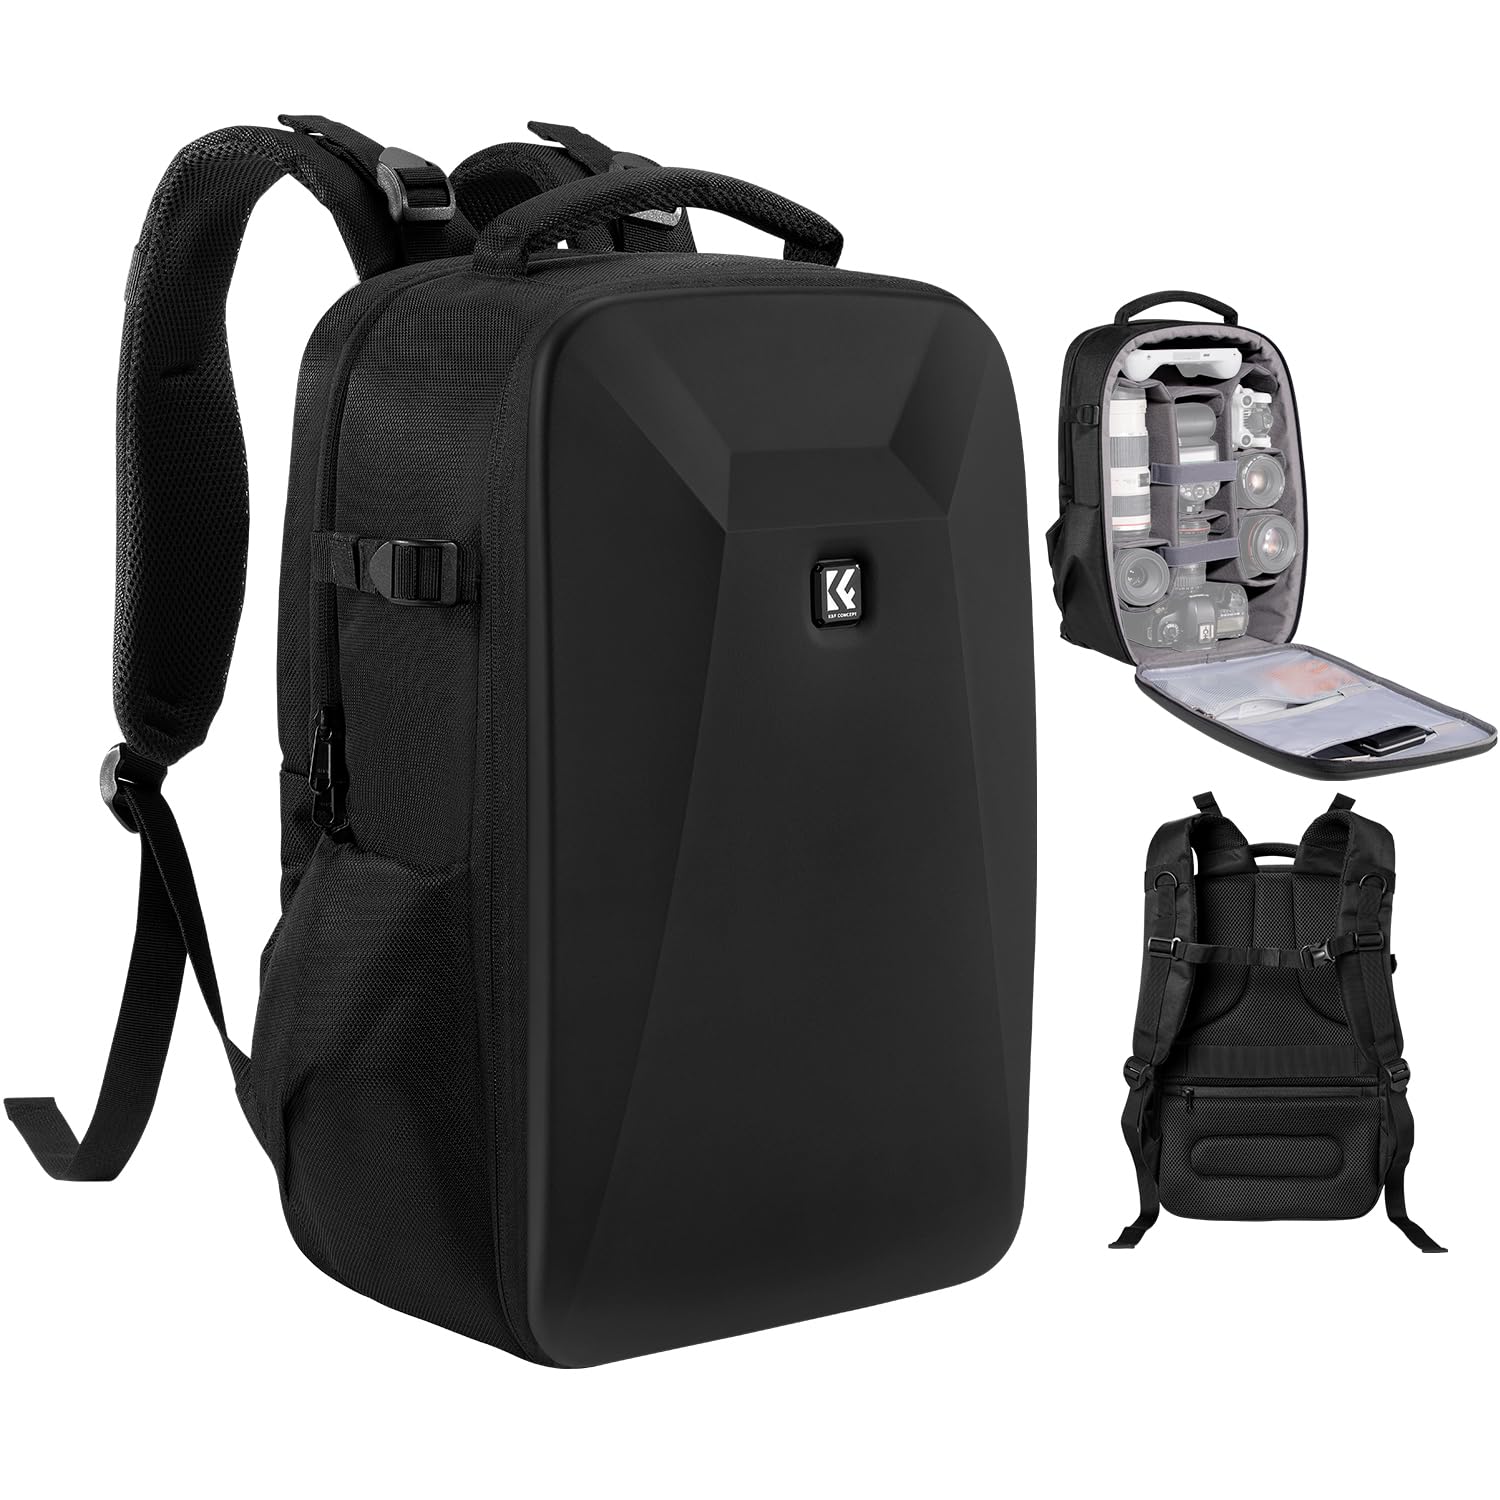
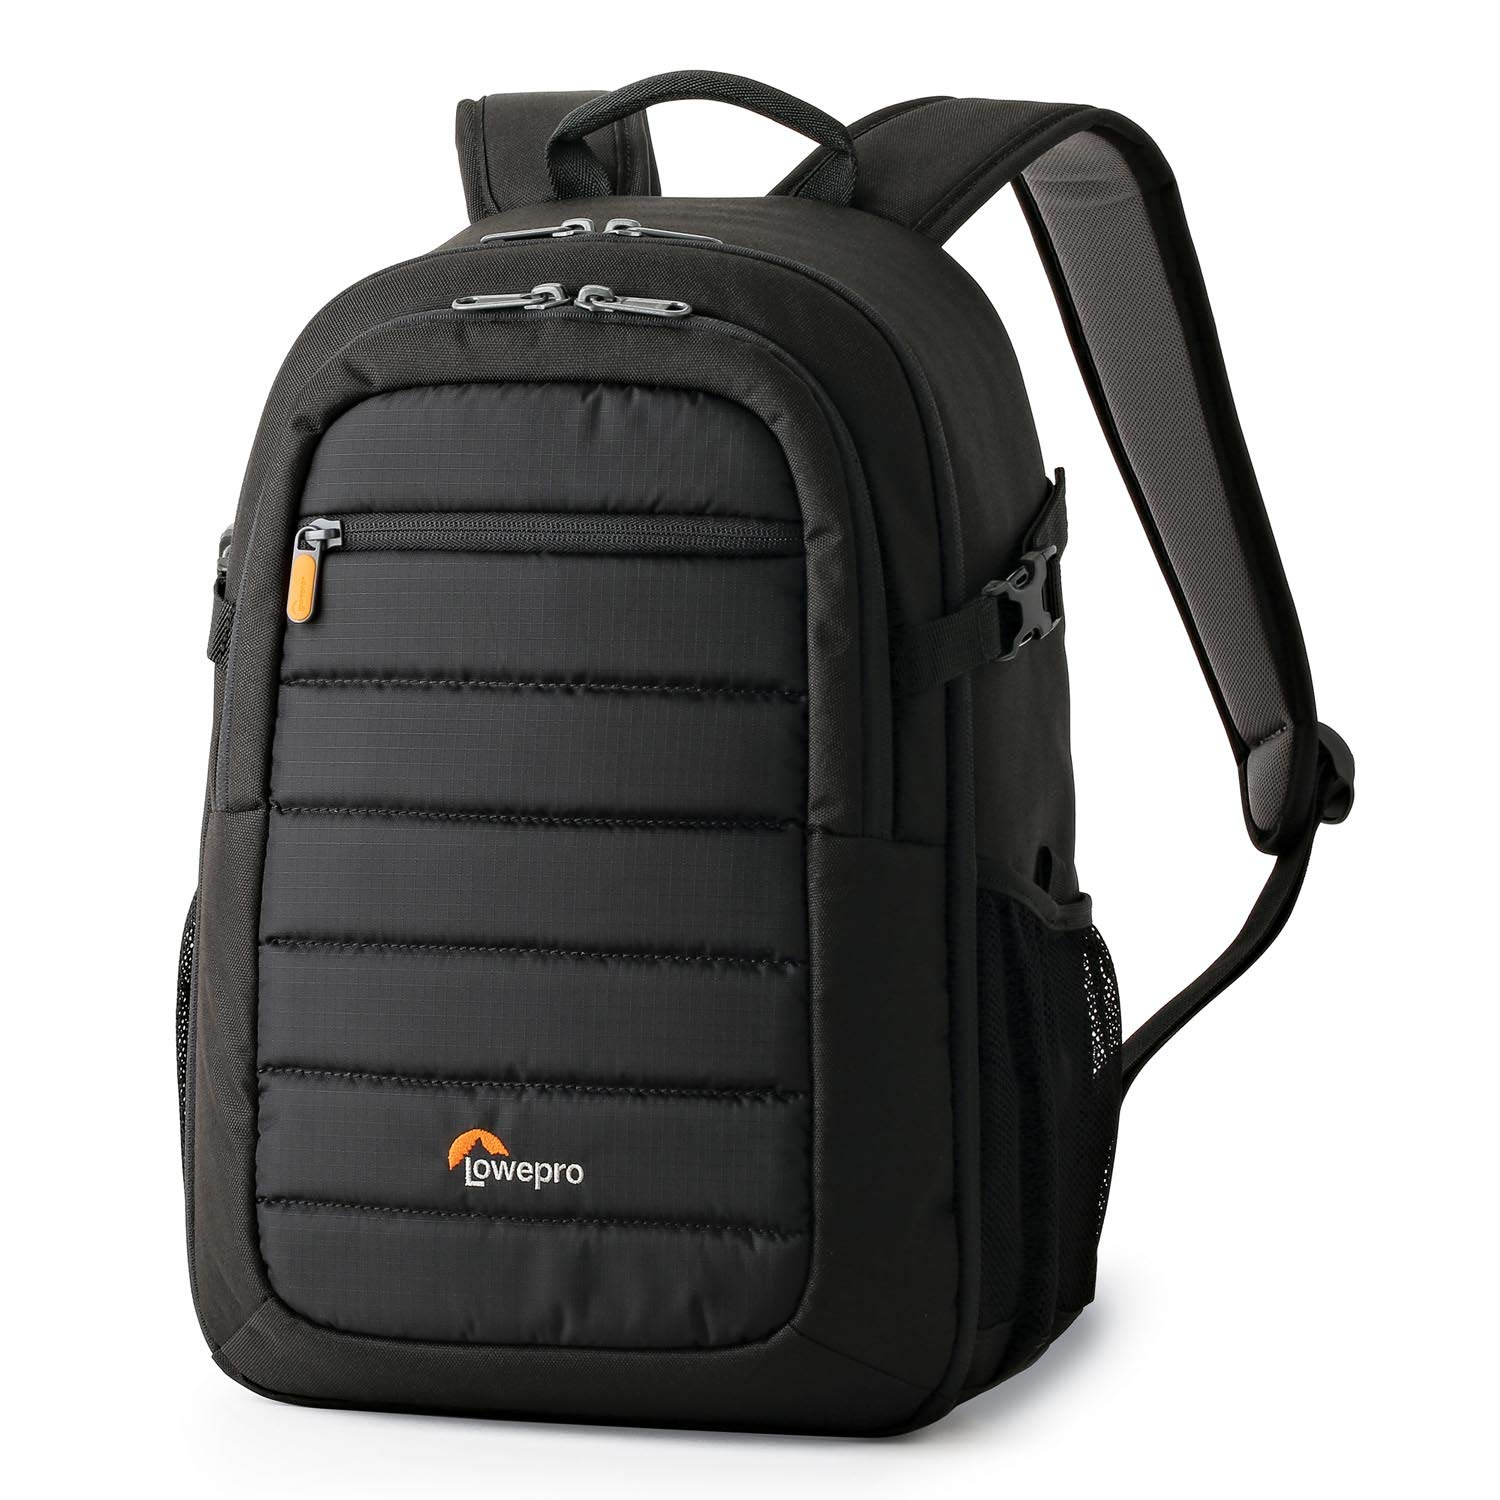
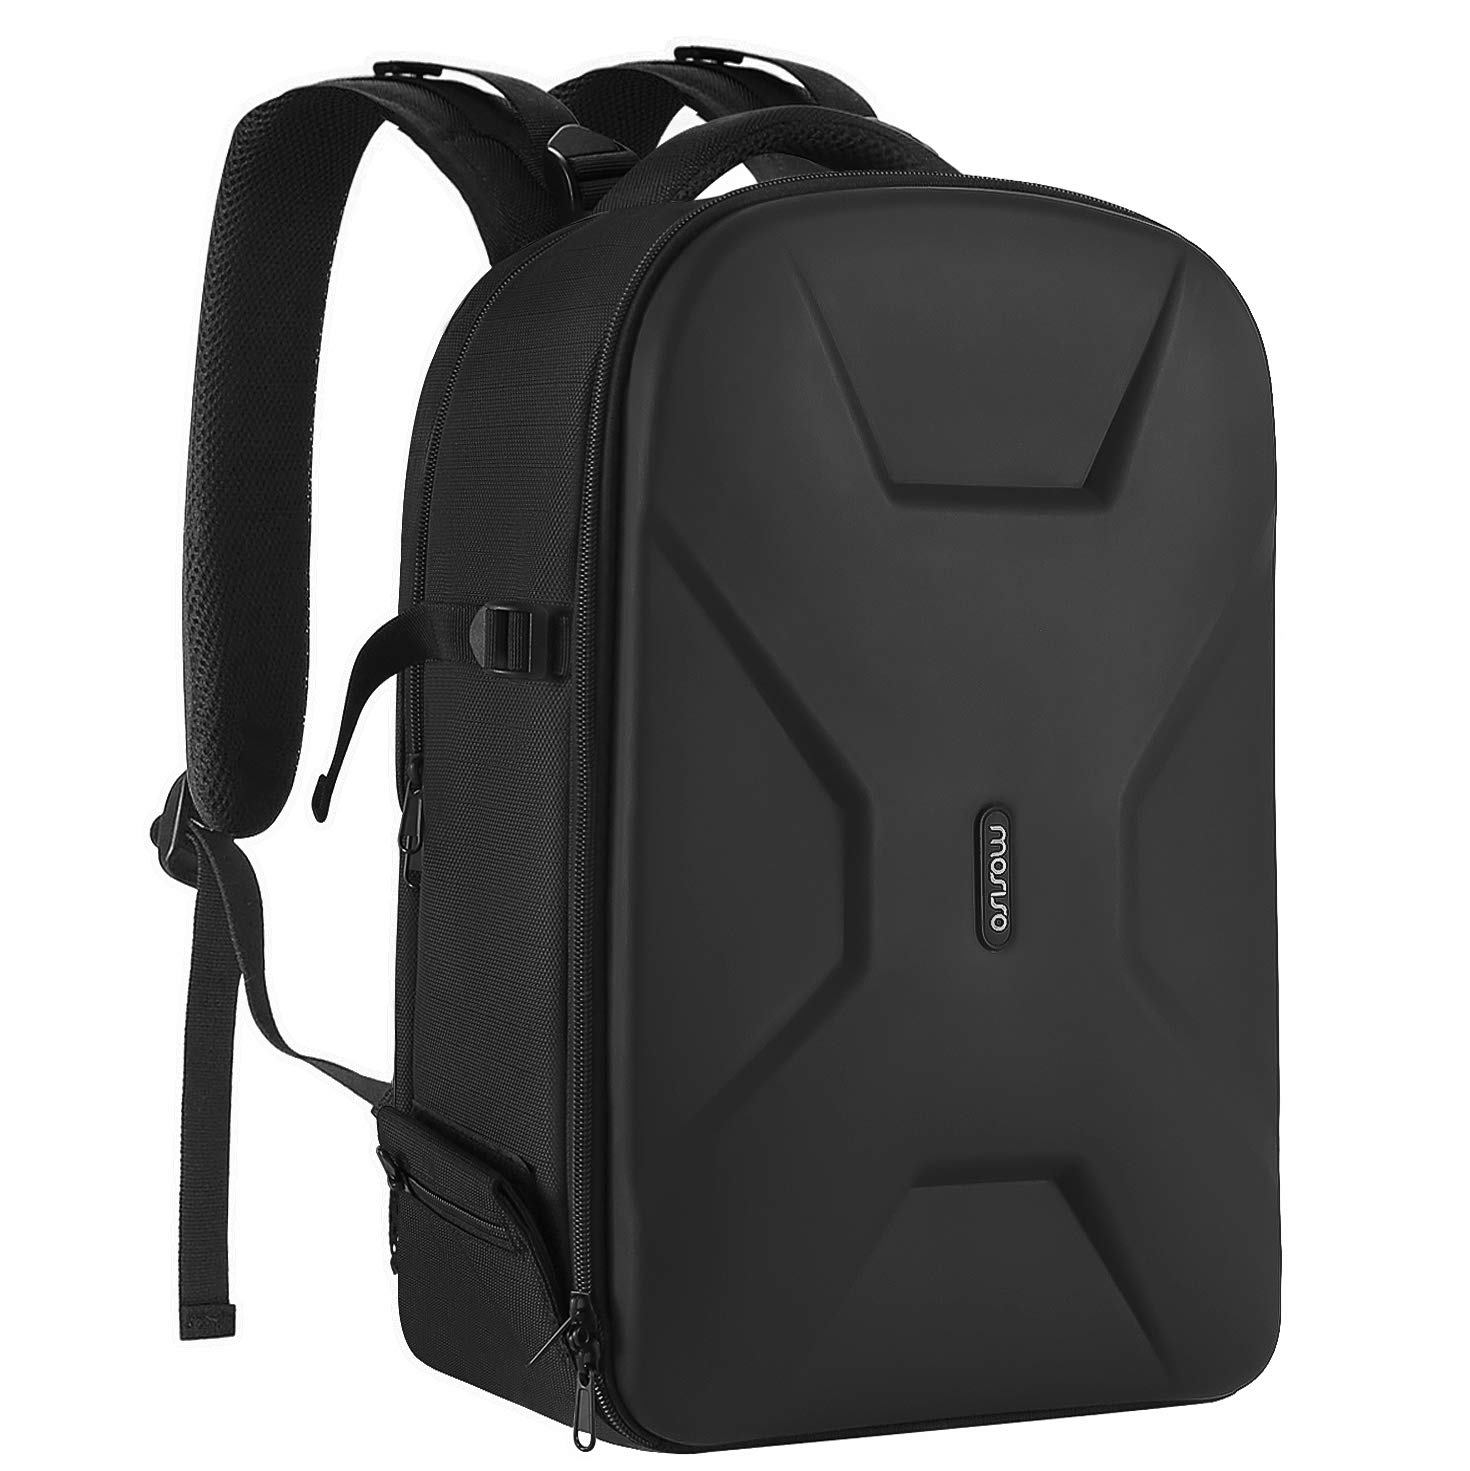
The hardshell models here have a rigid moulded outer rather than padded fabric. They are heavier and hold their shape when something is dropped on them, which is worth it for travel, checked luggage or working somewhere crowded. If the bag mostly moves between a car and a location, standard padded construction is lighter and cheaper for the same internal protection.
Check the laptop sleeve separately
Most of these carry a laptop, but the sleeve size varies and a 15-inch sleeve will not take a 17-inch machine. The better designs suspend the sleeve so the laptop does not sit flush against the bottom of the bag, which is where drop damage happens. Sizes are listed on each product page.